


Hand-Painted Typography Hack for Furniture
THRIFT STORE FURNITURE MAKEOVER | AFFORDABLE DO IT YOURSELF HOME PROJECTS
I originally wrote this post as "The Shabby Bride" for Allthingsthrifty.com (thus, the watermarks on the photos!) It turns out, people still love the look of old fashioned typography on their furniture, and this little hack is my go-to for creating that look without painstakingly hand-painting the delicate typography. Trust me, you’ll feel like a typography-on-furniture rock star with this technique~
Are you ready to go from this...

...to THIS? "Hand-painted" typography and all?

Let's dive right in, so you can get to the business of impressing everyone you know with your "hand-painted" furniture skills...
Step One: Start with a hand-me-down or garage sale-worthy piece of furniture. With BB Frösch Paint Transformer, you don't need anything fancy, because, by the time you're done, you will have created your own masterpiece. This lovely "rescue" hutch was missing a couple of doors, some glass, and a door pull. I needed a hutch for a store display--we were a match made in heaven.
Step Two: Pick a color, ANY color. Color selection usually takes me longer than actually painting a piece. Because I can make chalk paint in ANY COLOR I want with BB Frösch Paint Transformer, the guy at the Home Depot paint counter are on a first-name basis. For this project, Christian mixed up a quart of Behr Premium Interior Flat paint to match the green pillows on my bed. You gotta love when you can make your own chalk/mineral paint to match your favorite pillows!

Step Three: With BB Frösch Paint Transformer, you can choose to mix up as much or as little paint as you want. For this project, I went ahead and mixed the whole quart, even though I knew I would only need 10-12 oz. because, let's face it, the color is awesome, and I knew I would use it again. How did I know I would need less than 1/2 quart? Because adding BB Frösch Paint Transformer gives your paint incredible coverage! Click here for easy directions for mixing your own chalk/mineral paint.
Step Four: Paint your piece. I painted two coats using cross-hatch strokes. Because paint containing BB Frösch Paint Transformer is self-leveling, painting cross hatches (or hashtags, for the more current among you) actually helps the top layer of paint "settle" into the bottom layer, which makes for a nice, smooth finish.
Step Five: Here's where the MAGIC happens! Paint two or three pieces of paper. That's right, take a few pieces of ordinary printer paper and paint them using the same "hashtag" strokes you used to paint your piece. I painted several pieces because I wanted "hand painted" typography on four separate doors. Let the paper dry.

Step Six: Once the paper is dry, iron the curled edges flat (painted side down.) I used my clothes iron. Don't worry, my clothes iron doesn't actually know it's meant for clothes, so it didn't squawk.
Step Seven: Select a graphic. I poured over the amazing graphics over at The Graphics Fairy before settling on these two:


Step Eight: Print your fancy images on your freshly-painted paper. That's right, just run the painted (and dried, of course) paper through your printer. Trust me, your printer will be none the wiser!
Step Nine: To set the ink, spray a thin coat of Plastercraft Acrylic Gloss Spray Finish over the printed paper. You can find this handy stuff at Hobby Lobby or Michaels for a couple dollars. DON'T SKIP THIS STEP! There's nothing worse than watching your lovely "hand painted" typography smear when you apply it because the printer ink wasn't set!

Step Ten: Trim your image. I trim as close to the outside edge of the graphic as possible, but I don't get too detailed with my scissors.
Step Eleven: Using a black sponge brush, spread a generous layer of Mod-Podge onto the back only of the painted paper, and place the paper onto your painted furniture surface.
Note to make Step Eleven easier: I waxed my hutch after painting, and before placing the image, but you don't necessarily need to wax first. I think it's easier to place the image if I can spritz a little water on the surface first to help move my image into place.
You'll want to get your image fairly close to it's final resting place to avoid wrinkling. Carefully press any bubbles out to the edge of your image using the palm of your hand. Don't rub the bubbles out--think more like a rolling pin motion. If necessary, dab a little extra Mod-Podge under any edges that aren't totally glued down. DO NOT MOD-PODGE OVER THE TOP OF YOUR IMAGE! You will use the same finishing technique over your image that you use on the rest of your piece. See the next step to learn how I finished mine...

Step Twelve: Now that your graphic is part of your piece, finish it the same way you finish the rest of the piece. I chose to lightly distress then clear wax to seal and protect.
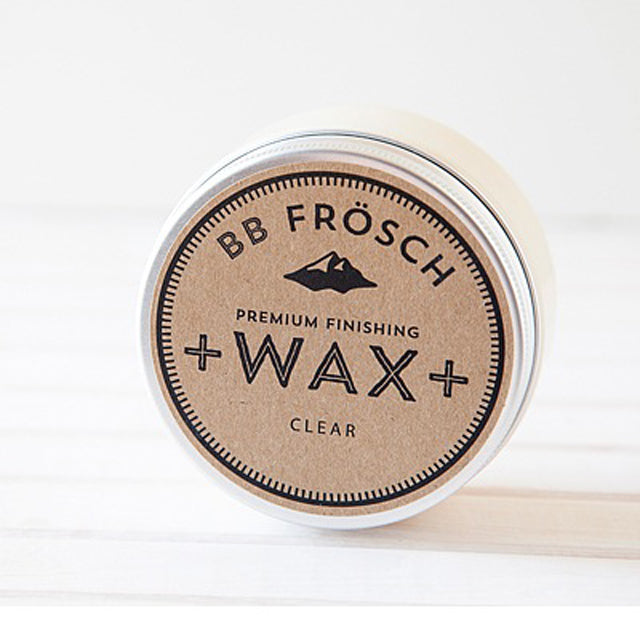
I apply Clear BB Frösch Premium Finishing Wax using a Wax Brush in a circular motion, then wipe excess wax with a lint-free cloth. If you want to age your piece with dark wax after clear waxing, like I did, age the painted piece of paper just as you age the whole piece.


VOILÀ! Because your paper is painted with the exact same paint as your furniture piece, no one will ever know the image wasn't painstakingly and delicately hand painted directly onto your furniture!
It can be our little secret...


